
|
Getting your Trinity Audio player ready...
|
Migration should be routine. For me, it became a disaster that taught me everything about what NOT to do—and eventually, what actually works.
I needed to migrate my WordPress blog to a new hosting provider. Simple, right? I’d done my homework: created a full backup, exported my database, and followed the “official” migration checklist from a popular hosting company.

Twelve hours later, my site was live on the new host. But something was wrong. Over half my images returned 404 errors. My meta descriptions vanished. Internal links broke. And worst of all? My backup from the old server had already been deleted.
That migration disaster cost me three weeks of manual repairs, hundreds of broken SEO elements, and traffic drops I’m still recovering from today. But it forced me to develop a migration process that actually works—one that I’ve now used successfully over 30 times without losing a single image or piece of SEO data.
In this guide, you’ll learn:
- Why “standard” WordPress migrations fail to preserve images and SEO metadata
- The complete pre-migration checklist that prevents data loss
- Step-by-step migration process with zero image or SEO loss
- How to verify everything transferred correctly before going live
Let’s make sure your migration goes smoothly—not like mine did.
Why WordPress Migrations Lose Images and SEO Data
Here’s what nobody tells you about WordPress migrations: The database, files, and SEO metadata all live in different places. Most migration tools and tutorials focus on moving your database and WordPress files—but completely ignore the connections between them.
When I analyzed what went wrong with my migration, I discovered the problem wasn’t a single failure point. It was a cascade of issues that standard backup tools don’t address:
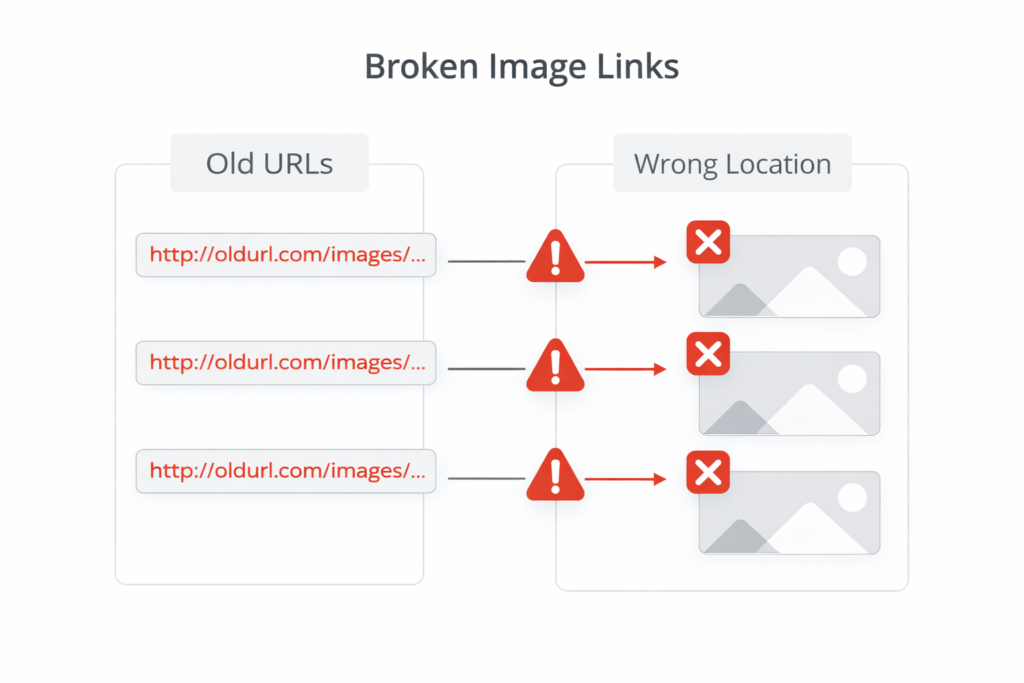
The Image Problem: Absolute URLs Break Everything
WordPress stores image URLs as absolute paths in your database, not relative ones:
https://oldsite.com/wp-content/uploads/2024/01/header-image.jpgWhen you migrate to a new domain or change your site structure, those URLs still point to the old server. Standard database search-and-replace fixes some instances, but misses:
- Images in custom fields
- Gallery metadata
- Featured image URLs in third-party plugins
- Image references in serialized data
- Gutenberg block JSON structures
The result? Even though your image files transferred successfully, WordPress can’t find them because it’s still looking at the old address.
The SEO Metadata Problem: Plugins Store Data Differently
Your meta titles, descriptions, focus keywords, and schema markup aren’t stored in standard WordPress post meta fields. Each SEO plugin uses its own database structure:
Yoast SEO stores data in:
wp_yoastindextablewp_postmetawith prefixes like_yoast_wpseo_title- Option tables with serialized arrays
RankMath uses:
- Custom database tables
- JSON-encoded metadata
- Separate schema markup storage
All in One SEO has:
- Its own options table (
wp_aioseo_posts) - Custom post meta fields
- Serialized settings arrays
Standard export/import processes often skip these plugin-specific tables entirely. Your content migrates, but all your SEO work vanishes.
The Permalink Problem: URL Structure Gets Corrupted
WordPress permalink settings are stored separately from your posts. If these settings don’t migrate correctly—or if you accidentally change them during migration—every internal link in your content breaks.
I lost all my custom permalinks during my migration because the new host’s “one-click WordPress installer” reset permalink structure to default. Suddenly, posts that were at /wordpress-migration-guide/ were now at /?p=247. Every internal link broke. Every external backlink led to 404s.
What You Actually Need Before Starting Migration
The uncomfortable truth: Most bloggers start migrations before they have everything they need to succeed. Here’s what proper preparation actually looks like.
Complete Content Inventory (Not Just a Backup)
Before you migrate anything, you need to know exactly what you’re moving. Create an inventory that includes:
Post and Page Count:
- Total published posts
- Total pages
- Draft content
- Scheduled posts
Media Library Audit:
- Total number of image files
- Total media library size
- Orphaned images (not attached to any post)
- File types used (JPG, PNG, WebP, SVG, GIF)
SEO Data Audit:
- Which SEO plugin you’re using (and which version)
- Total posts with custom meta descriptions
- Total posts with custom meta titles
- Schema markup implementations
- Redirects currently in place
Plugin Dependency Map:
- List every active plugin
- Note which ones store custom data
- Identify plugins that won’t be compatible with new host
- Document plugin settings you’ll need to recreate
This isn’t paranoia—it’s verification. After migration, you’ll check this inventory against your new site to confirm nothing was lost.
The Pre-Migration Extraction Strategy
Here’s the strategy that saved me in later migrations: Don’t rely solely on database backups.
Before migrating, I extract my most important content as individual, self-contained packages. Each package includes:
- The post content in HTML, text, and Markdown formats
- All images used in that post
- Alt text for every image
- SEO metadata (title, description, keywords)
- Comments if applicable
This might sound time-intensive, but it’s insurance. If something goes wrong during migration, I don’t need to restore an entire database—I can rebuild individual posts from these extraction packages.
After losing hundreds of posts to a corrupted backup, I built Content Extractor Pro specifically for this purpose. Now before any migration, I extract my top 20-30 most valuable posts as independent packages. It takes literally minutes, and it means my most important content is protected no matter what happens during migration.
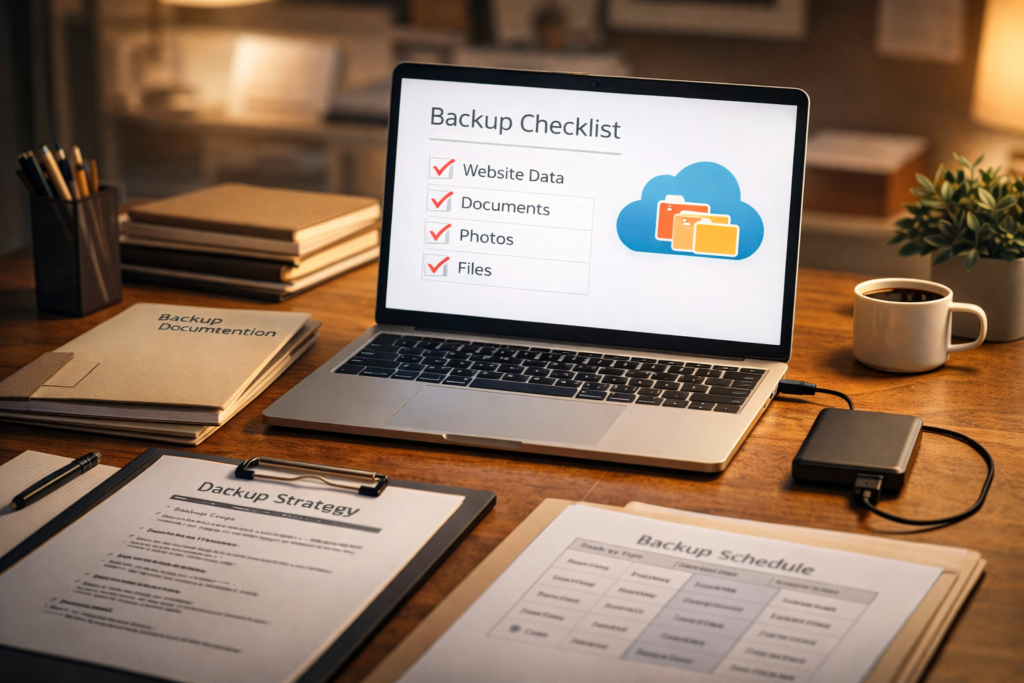
Database + Files Backup (Both Parts Required)
You need two separate backups:
- Database Backup (MySQL dump)
- Includes all posts, pages, settings, plugin data
- Usually 10-50MB depending on site size
- Download as
.sqlfile
- File System Backup (wp-content folder)
- All themes, plugins, uploads
- Usually 500MB to several GB
- Download via FTP or hosting file manager
Critical mistake I made: I only backed up the database. When the migration went wrong, I had all my posts but none of my images. The images were in the /wp-content/uploads/ folder on the old server—which had already been deleted.
Now I always download both, and store them in separate locations (one local, one cloud storage).
Step-by-Step Migration Without Losing Anything
This is the process I’ve refined over 30+ migrations. It’s methodical, yes—but I’ve never lost images or SEO data since following this exact sequence.
Step 1: Freeze Your Source Site (No New Content)
Before you do anything else, put your current site in maintenance mode or stop publishing:
- Announce to your team: no new posts until migration completes
- Disable scheduled posts
- Turn off automatic plugin updates
- Note the exact date/time you’re starting
Why this matters: If you publish new content during migration, it won’t exist on the new server. You’ll need to migrate that content separately later, which is exactly how data gets lost.
Step 2: Document Your Current Site Configuration
Take screenshots or notes of:
- Settings → General: Site URL, WordPress URL
- Settings → Permalinks: Your permalink structure
- Settings → Reading: Homepage settings
- Your SEO plugin settings page: Especially separator settings, title formats, and schema configurations
You might think “I’ll remember this.” You won’t. And when your new site’s permalinks are wrong, these screenshots will save hours of troubleshooting.
Step 3: Create Your Safety Net Backups
In this specific order:
A. Create full database backup:
- Use your hosting control panel (usually phpMyAdmin)
- Export as
.sqlfile - Verify file downloaded successfully (open it in a text editor to confirm it’s not corrupted)
B. Download entire /wp-content/ folder:
- Via FTP (FileZilla, etc.) or cPanel File Manager
- Includes
/uploads/,/plugins/,/themes/ - Verify folder size matches what you see in your hosting panel
C. Extract your top content individually:
- Your 20-30 most valuable posts
- Each as its own package with images and SEO data
- Store locally AND in cloud storage
Step 4: Prepare the Destination (New Server Setup)
On your new hosting account:
- Install fresh WordPress matching your current version exactly
- If you’re on WordPress 6.4.2, don’t install 6.5—version mismatches cause problems
- Set permalink structure IMMEDIATELY
- Go to Settings → Permalinks
- Match exactly what your source site uses
- Save before importing anything
- Install same SEO plugin with same version
- If you use Yoast SEO 21.5, install that exact version
- Activate it, but don’t configure yet
- Verify PHP and MySQL versions match
- Check source site PHP version in hosting panel
- Ensure destination server has same or newer version
Step 5: Database Import with URL Replacement
This is where most image loss happens. Here’s how to do it correctly:
A. Search and Replace URLs Before Importing:
Don’t import first and then try to fix URLs. Fix the database file itself:
- Open your
.sqlbackup file in a text editor (Notepad++, VS Code) - Use Find and Replace:
- Find:
https://oldsite.com - Replace:
https://newsite.com
- Do the same for non-HTTPS if you used it:
- Find:
http://oldsite.com - Replace:
https://newsite.com
- Save the edited
.sqlfile
B. Import Edited Database:
- Access phpMyAdmin on new server
- Select your WordPress database
- Click Import
- Upload your edited
.sqlfile - Wait for “Import successful” confirmation
Critical: Many migration plugins automate this process, but they often miss serialized data. Manual search-and-replace catches everything.
Step 6: Upload Media Files to Exact Directory Structure
This is critical: Your images must be in the exact same directory structure as the old site.
If images were at:
/wp-content/uploads/2024/01/image.jpgThey must be at that EXACT path on the new server. Not /uploads/2024/01/. Not /media/2024/01/. Exactly the same path.
How to do this correctly:
- Upload your entire
/wp-content/backup folder via FTP - Merge it with the new site’s existing
/wp-content/folder - Overwrite when prompted
Verify uploads:
- Check 5-10 random images from different time periods
- Visit their direct URLs in browser
- Confirm they load correctly
Step 7: Plugin and Theme Migration
Plugins first:
- Don’t use WordPress’s plugin installer for plugins you already have
- Upload your exact plugin folders via FTP to
/wp-content/plugins/ - Activate them one by one (not all at once)
- Test site after each plugin activation
Themes:
- Upload your theme folder to
/wp-content/themes/ - Activate your theme
- Immediately check theme settings (many themes have separate options tables)
Step 8: SEO Data Verification and Repair
This is where you confirm no SEO work was lost:
A. Check 10 Random Posts:
- View source code
- Confirm meta title is custom (not default)
- Confirm meta description exists
- Check schema markup in source
B. Verify SEO Plugin Data Imported:
For Yoast:
- Go to SEO → General → Features
- Confirm all your original settings are intact
For RankMath:
- Open a post in editor
- Check RankMath sidebar shows your focus keyword
- Verify meta description isn’t blank
C. Fix Missing SEO Data (if needed):
If SEO metadata is missing, check if you need to import plugin-specific tables:
- Go back to old site’s phpMyAdmin
- Export just the SEO plugin’s tables (e.g.,
wp_yoast_indexable) - Import individually to new database
Step 9: Internal Link Audit
Your content is imported, but are internal links working?
Quick test:
- Pick a post with lots of internal links
- Click 5-10 internal links
- Verify they all land on correct pages (not 404s)
If links are broken, you likely have a permalink mismatch. Recheck Settings → Permalinks matches your old site exactly.
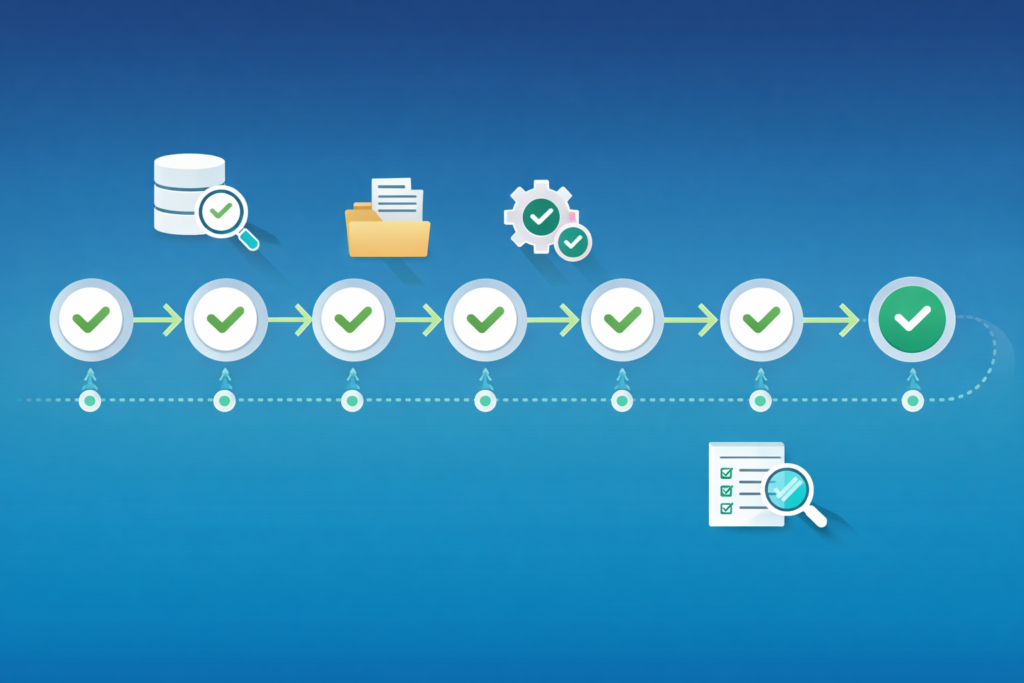
Step 10: The Final Pre-Launch Checklist
Before pointing your domain to the new server:
- [ ] Visit 10 random posts: all images load
- [ ] View source on 5 posts: meta titles and descriptions appear
- [ ] Test 10 internal links: all resolve correctly
- [ ] Test homepage, about page, contact page
- [ ] Check mobile view: formatting intact
- [ ] Search for a post in site search: works correctly
- [ ] Check one post in Google’s Rich Results Test: schema validates
- [ ] Verify total post count matches (old site: 247 posts = new site: 247 posts)
- [ ] Verify total media files match inventory
Only when ALL boxes are checked do you point DNS to the new server.
Post-Migration: Verify Nothing Was Lost

Migration isn’t complete when the site is live. You need to verify for 72 hours.
Immediate Checks (First 24 Hours)
Image Load Test:
- Use Screaming Frog or similar to crawl new site
- Filter for 404 errors
- Fix any broken image URLs immediately
SEO Metadata Spot Check:
- Open 20 random posts
- View source, verify meta tags present
- Use Yoast SEO or RankMath’s “Export” feature on new site
- Compare export file to one from old site (should have same number of entries)
Google Search Console:
- Add new property (if domain changed)
- Submit sitemap
- Monitor coverage report for sudden drops in indexed pages
7-Day Monitoring
Traffic patterns:
- Check Google Analytics for unexpected traffic drops
- Investigate any pages with 80%+ traffic loss
Search rankings:
- Monitor your top 10 ranking keywords
- Minor fluctuations (3-5 positions) are normal
- Drops of 10+ positions indicate a problem (broken redirects, missing metadata, etc.)
User reports:
- Watch for comments about broken images
- Check contact form for error reports
- Monitor social media mentions
The Most Common Migration Mistakes (And How to Avoid Them)
After helping friends migrate their sites and troubleshooting dozens of migration disasters, these are the mistakes I see repeatedly:
Mistake 1: Migrating to a Different Domain Without Redirects
The problem: Changed your domain from oldblog.com to newblog.com but forgot to set up 301 redirects from the old domain.
The consequence: All your backlinks lead to dead pages. Google sees your content as duplicate. Rankings tank.
The fix: Even if you don’t own the old domain anymore, try to:
- Keep the old domain for 6-12 months
- Set up 301 redirects from every old URL to new URL
- Update backlinks on sites you control
Mistake 2: Changing Permalink Structure Mid-Migration
The problem: Old site used /post-name/ structure, but on new site you switched to /blog/post-name/.
The consequence: Every internal link breaks. Every external backlink 404s.
The fix: Keep the exact same permalink structure. If you must change it, set up individual 301 redirects for every URL.
Mistake 3: “Testing” on Live Domain
The problem: Importing database and files to the live domain before verifying everything works.
The consequence: Visitors land on broken site mid-migration. Google crawls incomplete content. Damage to reputation and SEO.
The fix: Use a subdomain (staging.newsite.com) or temporary domain for all testing. Only point DNS after everything is verified.
Mistake 4: Forgetting About Redirects Plugin Data
The problem: You used Redirection plugin or Simple 301 Redirects on old site. Those redirects are in the database, but didn’t transfer.
The consequence: All your carefully crafted redirects vanish. Old URLs that you redirected months ago now 404.
The fix: Export redirects from your redirect plugin BEFORE migration. Re-import on new site after migration completes.
Mistake 5: Not Testing Mobile View
The problem: Desktop site looks perfect after migration. Mobile site has broken images, overlapping text, missing content.
The consequence: 60%+ of visitors have bad experience. Google’s mobile-first indexing hurts your rankings.
The fix: Test mobile view of at least 10 pages before going live. Use Chrome’s device emulator or real mobile device.
Advanced: Migrating Between Different Platforms
Sometimes you’re not just changing hosts—you’re leaving WordPress entirely for Webflow, Hugo, Ghost, or another platform.
The challenge: Most migration guides assume you’re staying on WordPress. Moving between platforms requires content transformation, not just database transfer.
What makes platform migration different:
- Database structure is incompatible: WordPress uses MySQL relational database. Static site generators use Markdown files. You can’t just import the database—you need to transform it.
- Image references change: WordPress uses shortcodes and custom HTML. Markdown uses different syntax. Every image reference needs conversion.
- SEO metadata lives elsewhere: Yoast SEO data won’t transfer to Ghost or Hugo—you need to extract it and reformat it.
My approach to platform migration:
Rather than try to map WordPress database structures to a new platform, I extract each post individually with all its components (images, SEO data, content in multiple formats). Then I use the Markdown version of each post to import to the new platform.
This ensures:
- Images are already downloaded and organized
- Alt text is preserved in a mappable format
- Meta descriptions and titles can be manually added to new platform
- Content is in a clean, portable format (Markdown)
I covered this process in detail when I extracted my entire blog to prepare for platform testing. Having each post as an independent package made migrating 10 sample posts to Ghost take 30 minutes instead of hours of database manipulation.
Frequently Asked Questions
How do I migrate WordPress without losing images?
The key is ensuring your image files transfer to the exact same directory structure on the new server AND that database URLs are updated correctly. Always upload the entire /wp-content/uploads/ folder via FTP, and perform search-and-replace on your database file to update all absolute URLs from oldsite.com to newsite.com before importing.
Can WordPress migration affect my SEO rankings?
Yes, if done incorrectly. Common SEO-damaging mistakes include: changing permalink structure, forgetting to transfer SEO plugin data (meta titles/descriptions vanish), breaking internal links, or not setting up 301 redirects when changing domains. Follow proper migration steps and verify all SEO metadata transferred successfully before making the new site live.
How long does WordPress migration take?
For a small blog (under 100 posts), expect 3-4 hours including preparation, migration, and verification. Medium sites (100-500 posts) typically take 6-8 hours. Large sites (500+ posts) can take 12-24 hours especially if you’re manually verifying image transfers and SEO data. Always allocate more time than you think—rushed migrations are how data gets lost.
What’s the safest way to migrate WordPress to a new host?
Create complete backups (both database AND files), extract your most valuable content as individual packages for insurance, set up the new server with matching WordPress version and permalink structure, perform URL replacement on the database file before importing, upload files via FTP maintaining directory structure, verify everything works on a staging domain, then point DNS only after all verification checks pass.
How do I verify my WordPress migration was successful?
Check post count matches old site, test image loading on 10+ random posts, verify SEO meta tags appear in source code of multiple posts, test internal links work correctly, compare Google Search Console indexed page counts, monitor traffic for 72 hours after DNS change, and use Screaming Frog to crawl your new site looking for 404 errors or missing images.
Can I migrate WordPress without downtime?
Yes, by setting up the new site on a staging domain or subdomain first, completing all migration steps, fully testing everything, and only pointing your DNS to the new server once verified. DNS propagation takes 24-48 hours during which some visitors see the old site and others see the new one, but with proper preparation this transition happens transparently with no actual downtime.
Don’t Let Migration Fear Stop You From Growing
I put off migrations for years because one bad experience made me terrified of losing content. That fear held me back from better hosting, better performance, and better opportunities.
The truth I learned: Migrations are scary when you don’t have a process. When you do it methodically with proper backups and verification, they’re just another routine task.
Your action steps:
- Create your migration inventory today: Even if you’re not migrating soon, knowing exactly what you have prevents future panic
- Extract your top content: Your 20 most valuable posts as independent packages, stored safely—this is your insurance policy
- Document your current setup: Screenshot your permalink settings, SEO plugin configuration, and important settings while everything still works
- Test your backups: Can you actually restore from them? Verify before you need them in an emergency
Your blog content represents months or years of work. It deserves a migration process that treats it with respect—not a rush job that risks everything on a “hopefully this works” approach.
I learned these lessons the painful way so you don’t have to. Take migrations seriously, follow a methodical process, and you’ll never lose a single image or piece of SEO data.
Start preparing now, before you need to migrate. Future you will be grateful.

Founder of Jobzhandle.com | Career Strategist & Personal Finance Enthusiast. I help professionals grow their skills, manage their money wisely, and explore new income opportunities. My goal is to turn career and financial goals into reality with simple, proven tips.